
Offloading the NSX Distributed Firewall (DFW) to a Data Processing Unit (DPU) is an exciting new feature which is GA as of NSX version 4.1. Other NSX features that were already supported within DPU-based acceleration for NSX are:
- L2 and L3 overlay networking
- L2 VLAN networking
- Observability features such as packet capture, IPFIX, TraceFlow, and port mirroring
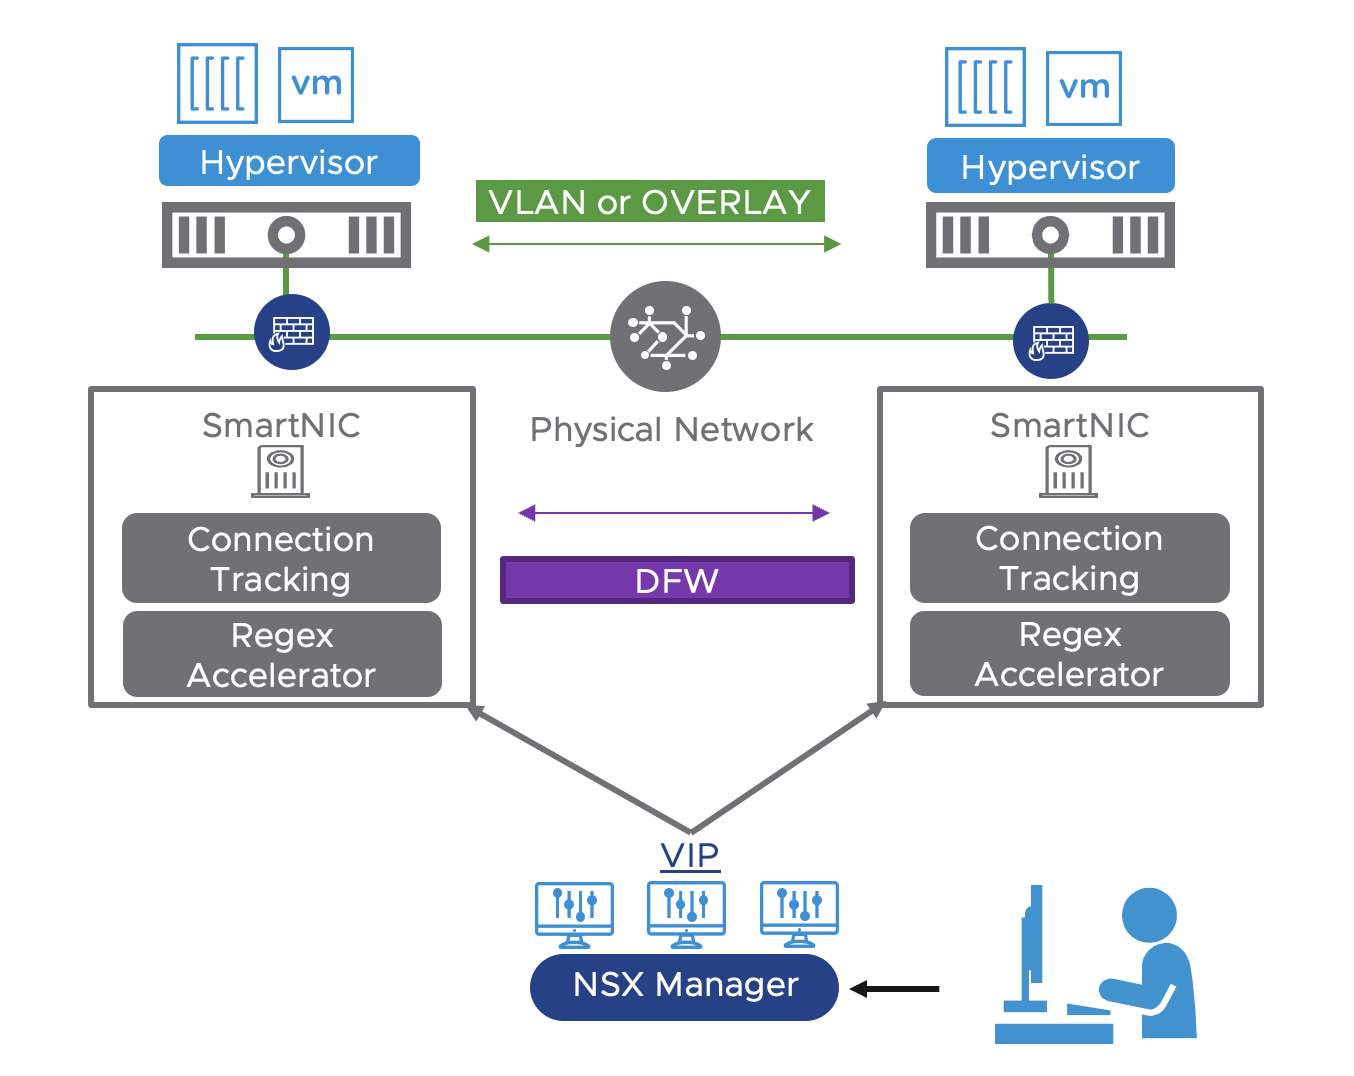
For NSX DFW, offloading and accelerating by a DPU means layer 4 traffic flows go through the following process:
- When the first packet arrives, it is considered as a flow miss and processed at software level.
- The new packet is forwarded for software slow path processing:
- If a packet is not allowed by a rule, the packet is dropped and a flow’s entry is not created.
- If the packet is allowed, a flow entry is created.
- When the software processing successfully inserts a flow entry, it programs the flows in the DPU hardware for faster processing.
In this article I’ll walk through step 0 which is enabling DPU-based acceleration for NSX. It’s the only step that requires some manual configuring. The rest is taken care of for you by vSphere and NSX.
The process is so easy that I don’t actually expect people will need to read an article like this. On the other hand, there’s some value in sharing the steps of a simple configuration procedure as well. So let’s just get started!
Lab Environment
The following are the hardware and software components relevant for this exercise:
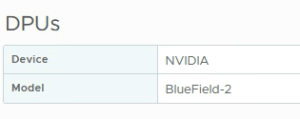
- 3 x Dell PowerEdge R750 with NVIDIA BlueField-2 DPU
- vCenter 8.0 Update 1
- ESXi 8.0 Update 1
- NSX 4.1
The components above are in place and now we are tasked with enabling DPU-based acceleration for NSX in this environment.
Step 1 – Distributed Switch With Network Offload Compatibility
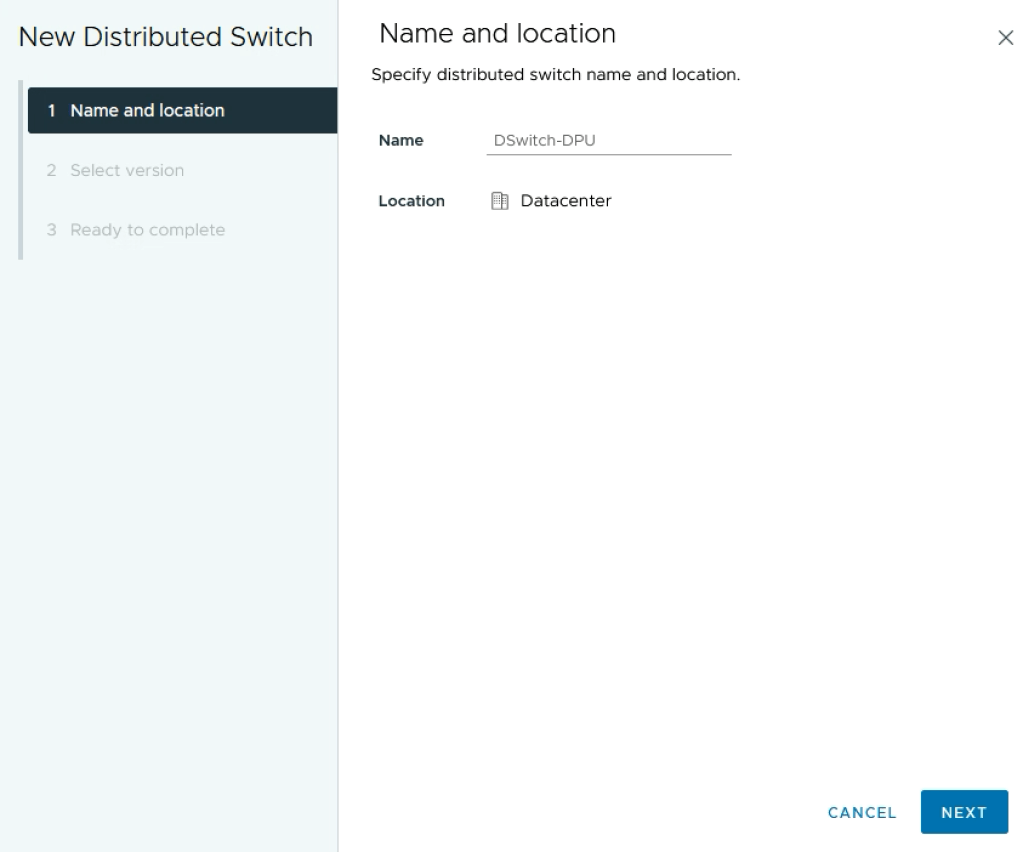
The first thing we need to do is create a vSphere Distributed Switch (VDS) that supports network offloads to DPU.
Create the VDS
In vCenter under Networking create a new Distributed Switch using the normal procedure:
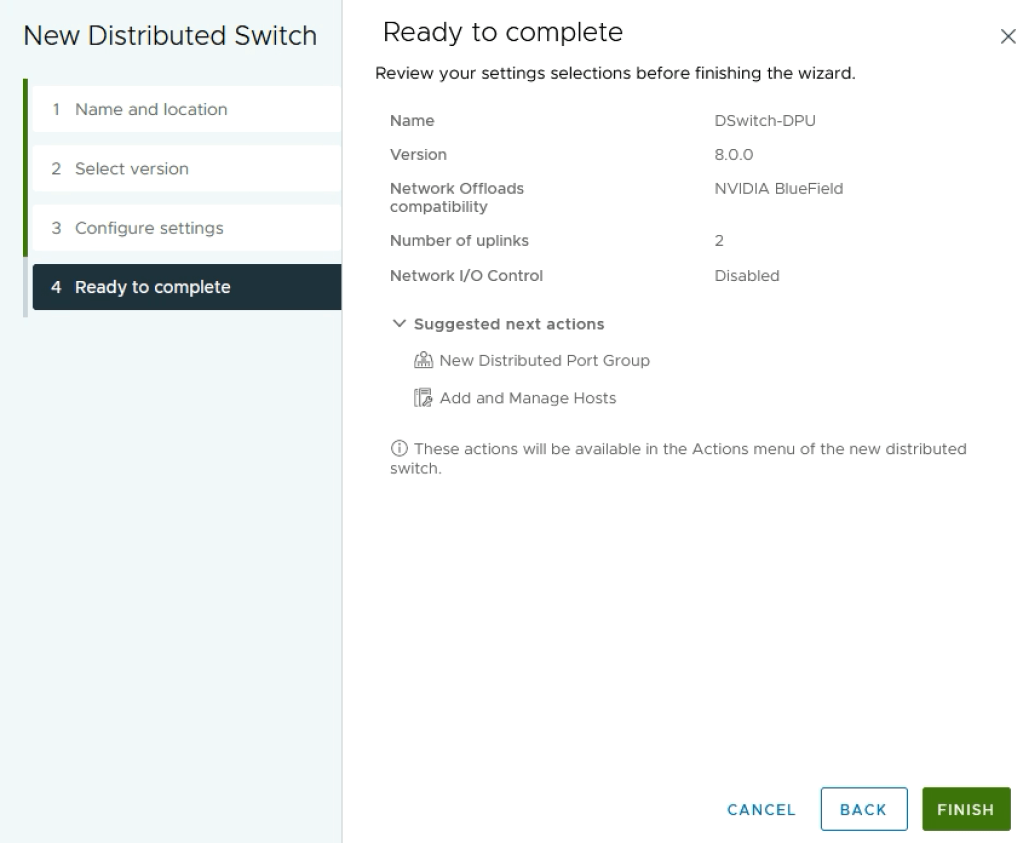
Make sure to select version 8.0.0 in the next step as this is the version that supports DPU network offloading:

In the next dialog we configure the Network Offloads compatibility. The servers in this lab are equipped with the NVIDIA BlueField-2 DPU so we’ll select NVIDIA BlueField here:

Notice that the DPU comes with two SFP interfaces so we also configure the number of VDS uplinks to be 2:
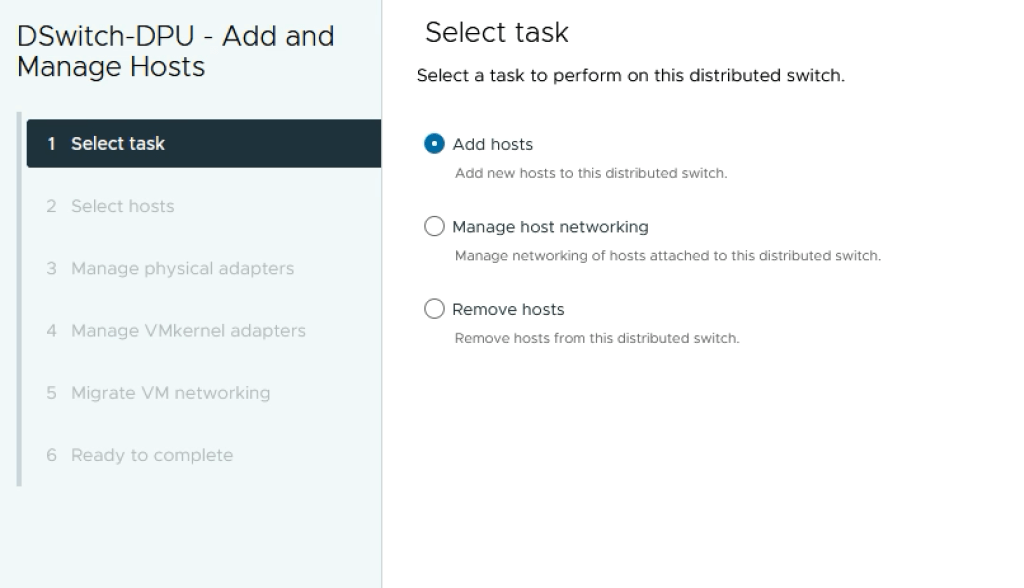
Add ESXi Hosts
Next we add the ESXi hosts to the DPU compatible VDS.
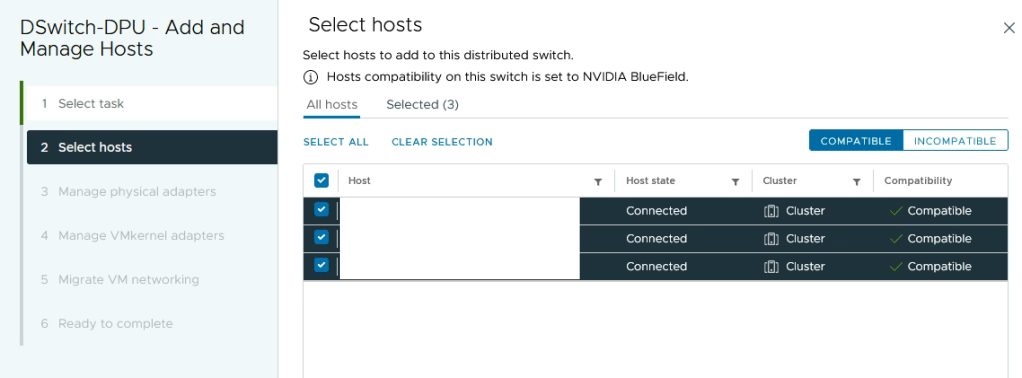
The two interfaces on the DPU are mapped to ESXi vmnic2 and vmnic3 which we in turn assign to Uplink 1 and Uplink 2 on the VDS:

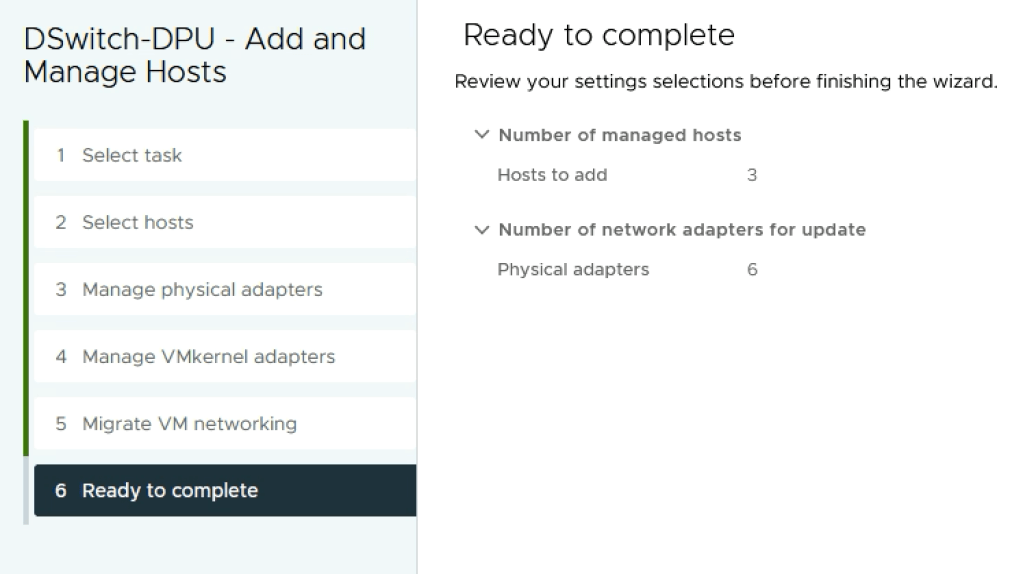
With the ESXi hosts and their respective DPUs added to the DPU compatible VDS, we continue with configuring the NSX side of things.
Step 2 – Prepare Host Transport Nodes
Preparing ESXi hosts as NSX Host Transport Nodes backed by DPU is more or less done by following standard procedure.
Create Uplink Profile
First we create an uplink profile. Navigate to System > Fabric > Profiles > Uplink Profiles and click + Add Profile. We’ll give the uplink profile some descriptive name like dpu-uplink-profile, configure teaming and optionally a transport VLAN when overlay networking is in scope:
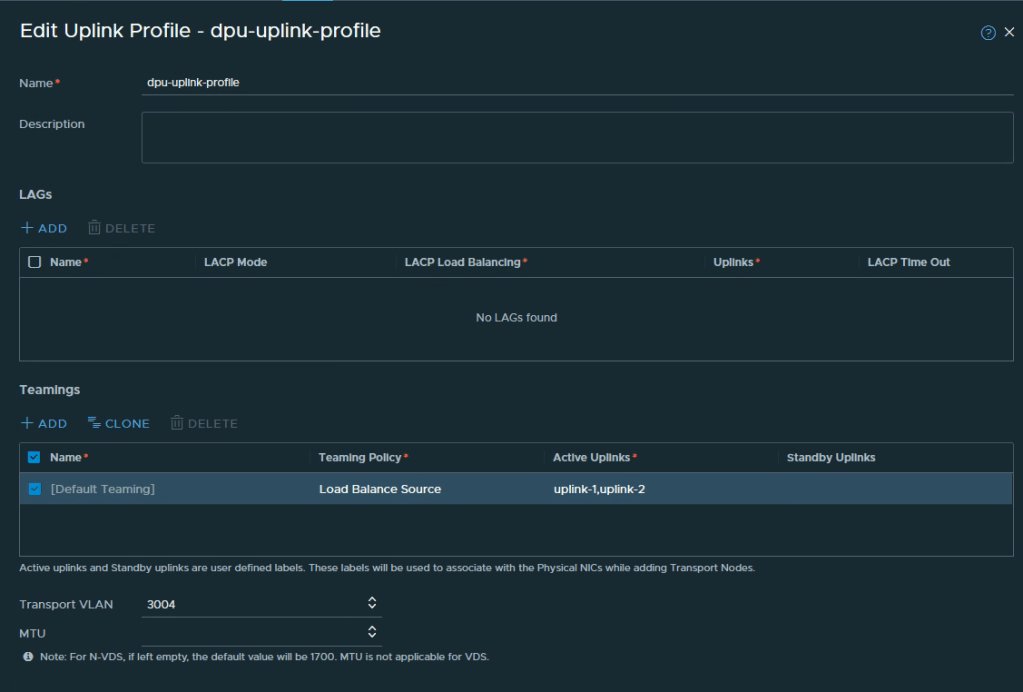
We define 2 active uplinks in the profile, one for each DPU interface.
Create Transport Node Profile
Next we create a transport node profile under System > Fabric > Hosts > Transport Node Profile. Let’s call this transport node profile dpu-tn-profile:

Click Set in the Host Switch column and in the next dialog click on Add Host Switch.
It’s here we select our vCenter, the DPU compatible VDS, relevant transport zones, the uplink profile, and map the uplinks which we defined in our uplink profile to the VDS uplinks:
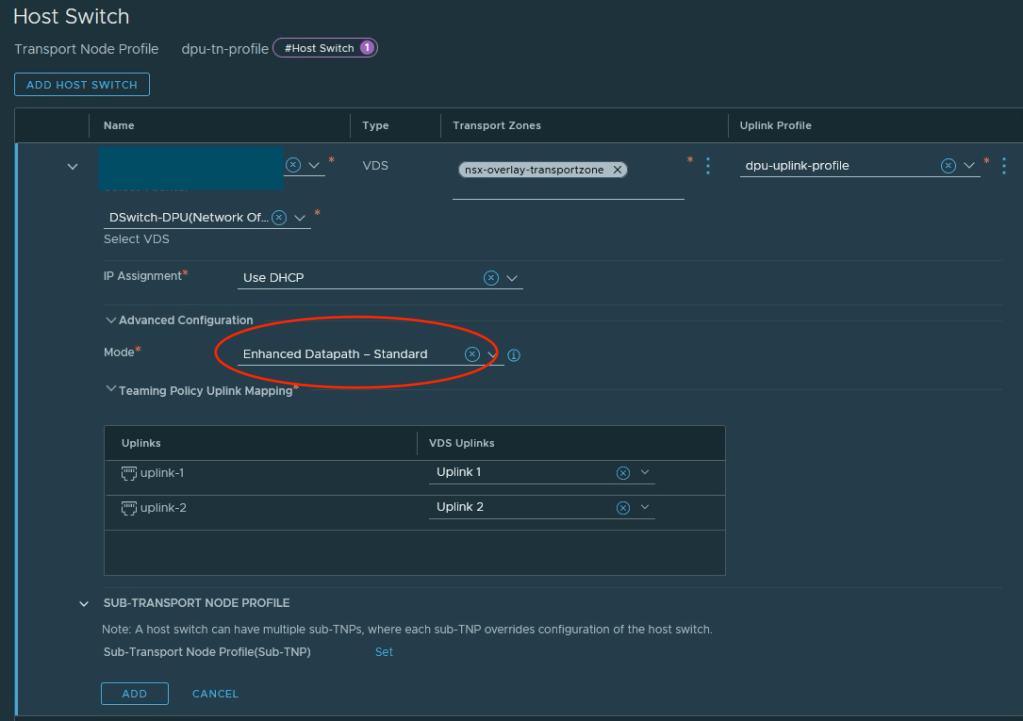
Note that under Advanced Configuration > Mode we must select Enhanced Datapath (either Standard or Performance) as the Mode when the selected VDS is a DPU compatible VDS.
Configure ESXi Hosts
The final step is to configure the ESXi hosts and for this we use our transport node profile.
Navigate to System > Fabric > Hosts > Clusters. Select the vSphere cluster that contains the ESXi hosts with DPU hardware and click Configure NSX:

In the dialog that pops up select the transport node profile that we created in the previous step (dpu-tn-profile) and press Save. The NSX installation and configuration on the ESXi hosts kicks off.

Once completed it could be interesting to have a quick look at the details of one of the configured ESXi hosts. This should confirm that the DPU-backed interfaces are claimed as NSX uplink-1 and uplink-2 respectively:

And this completes the configuration of DPU-based acceleration for NSX. From here any workload that is connected to an NSX segment (VLAN or overlay) will benefit from the offloading and acceleration capabilities offered by the NSX programmed DPU interfaces.
Summary
As simple as VMware has made it to set all of this up, I personally consider DPU-based acceleration for NSX to be a serious game changer that offers a variety of new design options to organizations and their private cloud initiatives. I’m excited to see what’s next.

Leave a comment