Wether you like it or not, the API plays a significant role when installing, configuring, and managing an NSX-T environment. Sooner or later you will be facing tasks that either require you to use the API or simply are much faster to complete using the API.
Luckily, with the right tools and some preparation, getting started with API-based management isn’t all that hard.
In this article I will show you how I set up REST API Client Postman for interaction with the NSX-T API.
Step 1 – Download and install Postman
A pretty obvious first step. We need to download and install Postman. Get it from https://www.getpostman.com/.
Step 2 – Create a Postman environment
After we’ve installed Postman, we should create a Postman environment for our NSX-T environment.
An environment in Postman is a place where you create and store variables with their values. These can then be used within API requests. Using environment variables is a real time saver.
To create an environment in Postman choose File > New and select Environment.

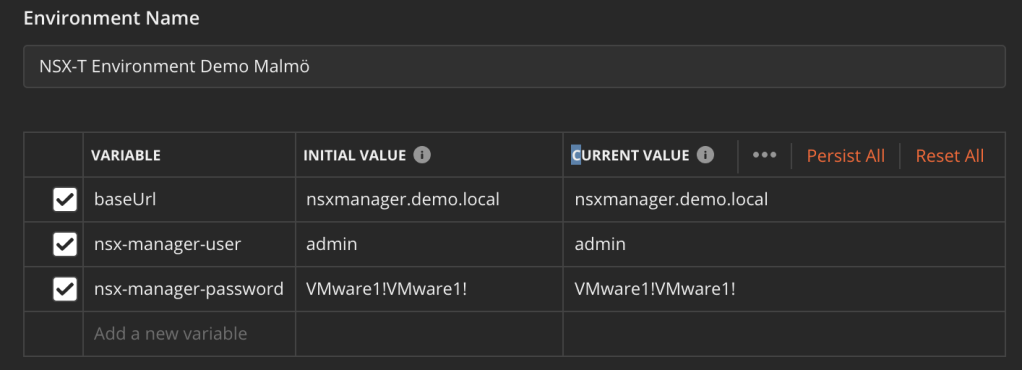
Give the environment a name and add the following variables:
| Variable | Value |
|---|---|
| baseUrl | your-nsx-manager-fqdn |
| nsx-manager-user | your-nsx-manager-user |
| nsx-manager-password | your-nsx-manager-password |
In Postman:
Step 3 – Download the NSX-T OpenAPI specifications
Both the Manager API and the Policy API are described in the OpenAPI format. You can download their specifications using a GET request.
The Manager API specification can be fetched at:
https://{{baseUrl}}/api/v1/spec/openapi/nsx_api.json
The Policy API specification is at:
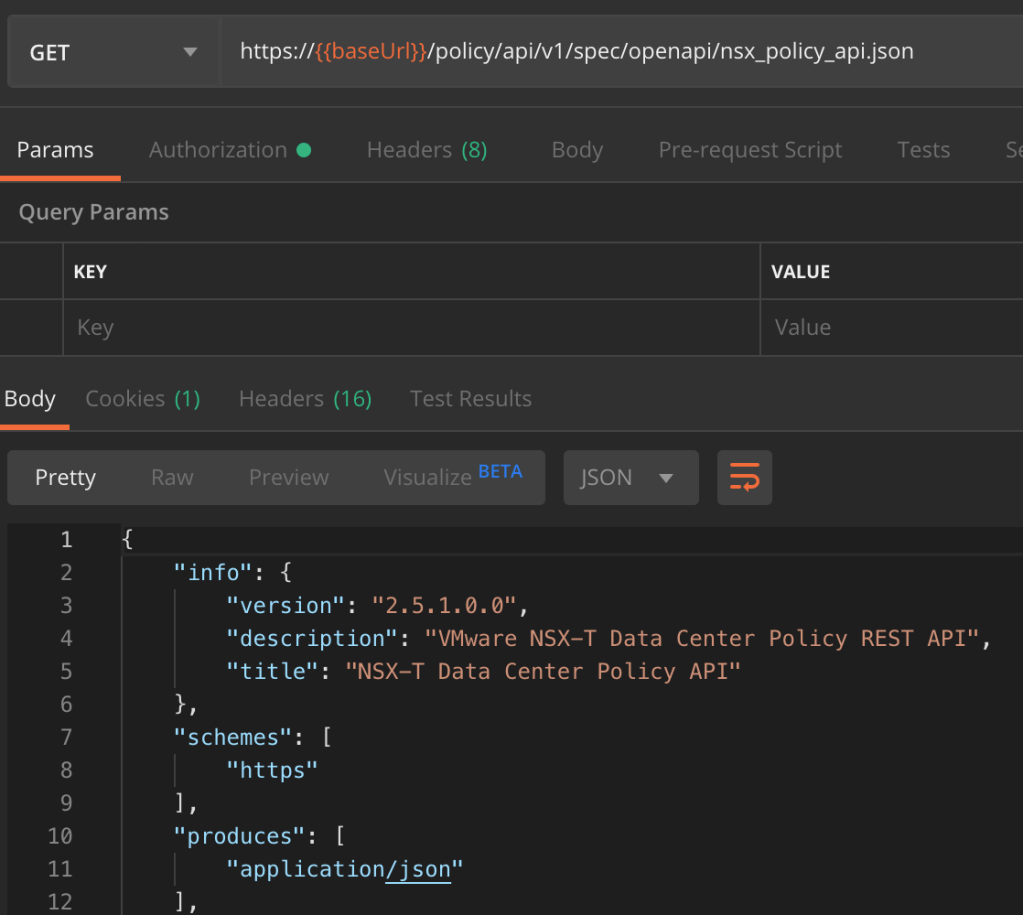
https://{{baseUrl}}/policy/api/v1/spec/openapi/nsx_policy_api.json
We immediately make use of the “baseUrl” environment variable. Don’t forget to select the environment (in the top right corner) so that Postman knows where to fetch it’s value.
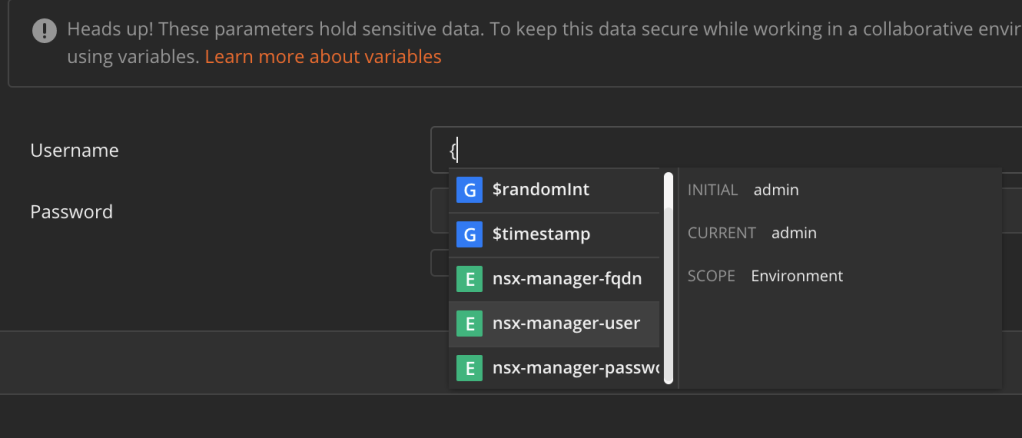
We also need to authenticate when connecting to the NSX-T API. This is configured under “Authorization“. Select “Basic Auth” from the “Type” list.
Instead of entering the NSX-T credentials in the Username and Password fields, you type a “{” and select the “nsx-manager-user” variable from the list that pops up:
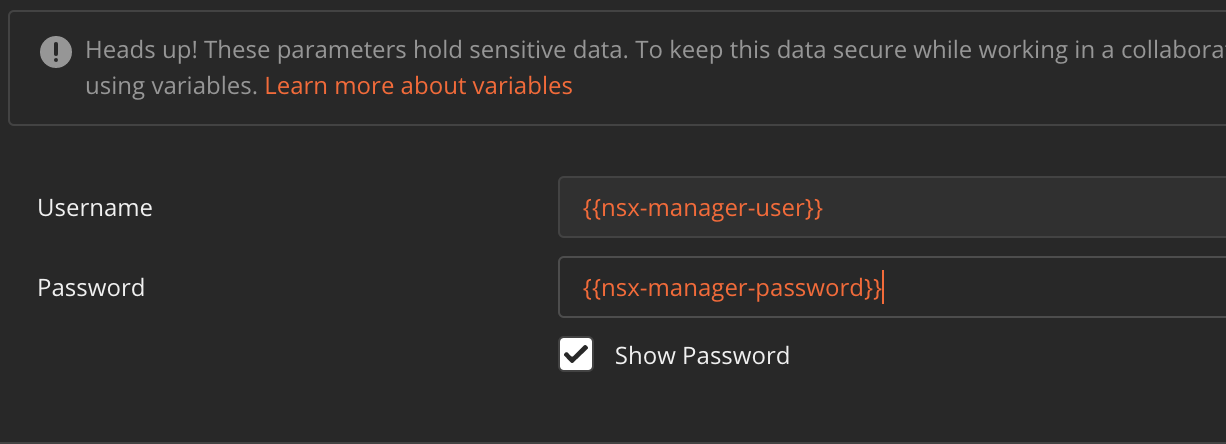
Tick the “Show Password” box and then repeat this “trick”, but now select the “nsx-manager-password” variable instead:
Click the Send button to fetch the OpenAPI specifications.

Step 4 – Import the NSX-T OpenAPI specifications
The specifications are downloaded and available in the body of the GET requests:
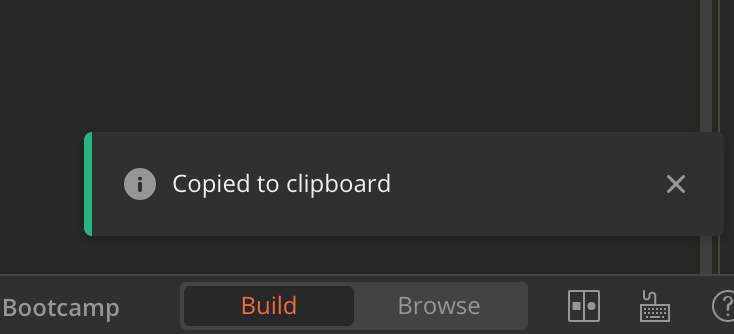
Copy the contents of the request body by clicking on the two overlapping squares icon in the right corner and wait until it says “Copied to clipboard“:
Next, click the “Import” button in the upper left corner of the Postman application window and select “Paste Raw Text“. Paste the contents of the request body into the text box and then click the “Import” button:

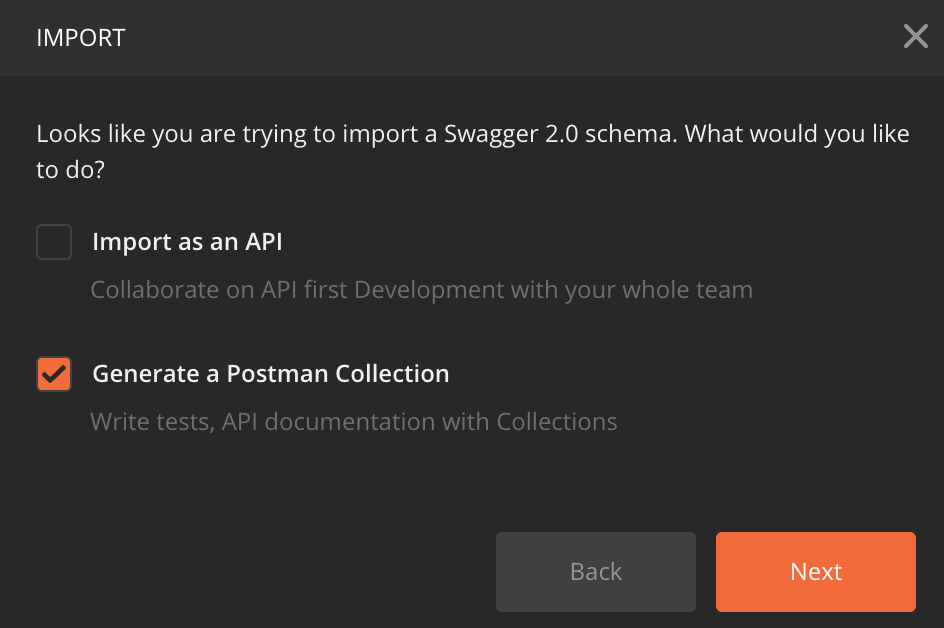
In the dialog that pops up make sure that you only select “Generate a Postman Collection” and click “Next“:
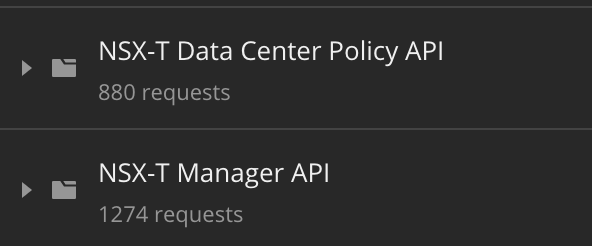
After a couple of seconds you should see a new collection in Postman. For the Manager API the collection is called “NSX-T Manager API” and for the Policy API the collection is called “NSX-T Data Center Policy API“:
Step 5 – Configure Authorization
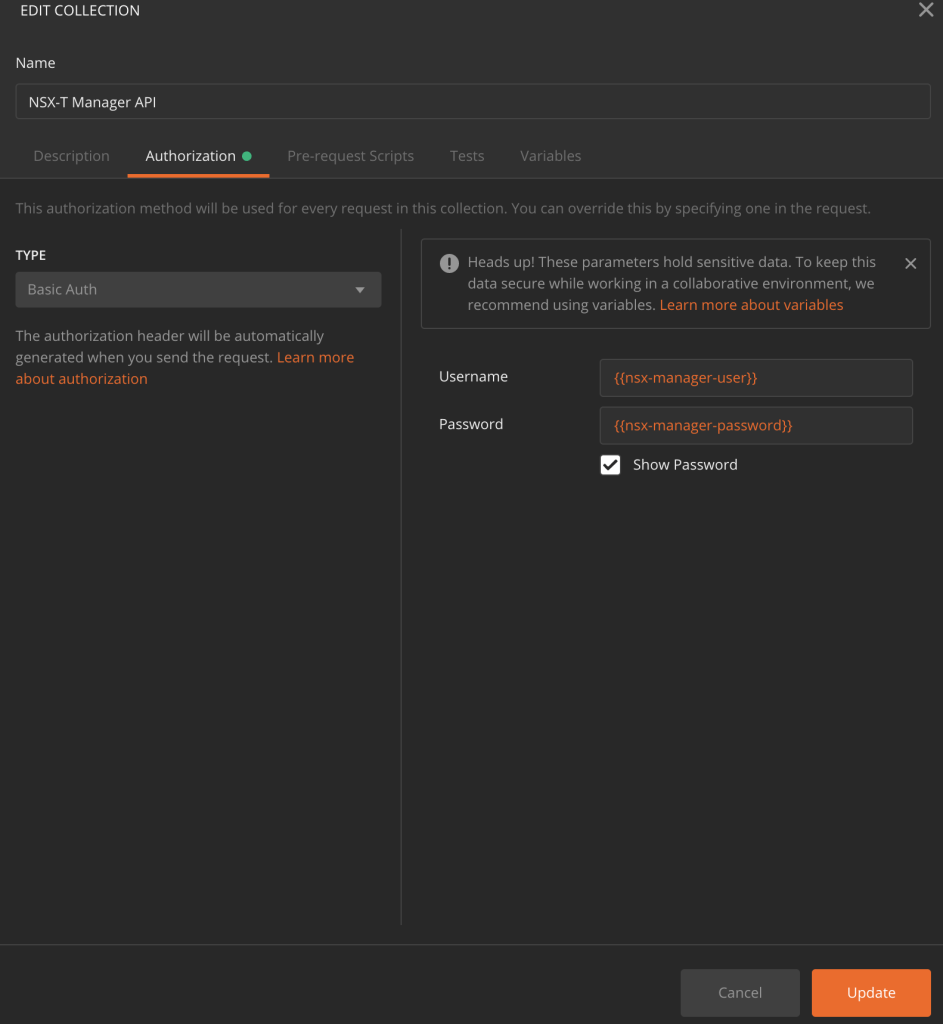
We also want all of the API requests in the collections to perform basic auth using the “nsx-manager-user” and “nsx-manager-password” variables that we defined in the Postman environment. This is configured at the collection level.
For each collection right-click and select “Edit“:

Click the “Autorization” tab and select “Basic Auth” from the “Type” list. Enter “{{nsx-manager-user}}” for “Username” and “{{nsx-manager-password}}” for “Password“. Click the “Update” button to save the changes:
The requests within the collections will now use these “parent” authorization settings.
Conclusion
It takes some minutes, but now that everything has been set up it will be less of a hassle to get started.
Who knows, next time when you need to configure or deploy something in NSX-T you might be doing it using one of the NSX-T API requests in Postman. 😉

Leave a comment